Impress your clients with modern, stunning, fully customizable website templates • Ad
I started liking Affinity Photo, but I still miss many quality-of-life features from Photoshop. One of them is snapping the crop tool automatically to the edges of layers.
You can’t do that in Affinity Photo. Not directly, at least. I tried every snapping option, one by one.
But, as I was working a bit on a logo today, I found an easy and quick workaround that I want to share with you.
Snap the Crop Tool to the Edges of a Layer in Affinity Photo
Since Affinity Photo doesn’t provide such a feature automatically, we’ll have to use a little workaround that’s based on Guides because Affinity Photo can snap to those.
Guides are those blue lines that you can drag from Rulers to help with positioning.
Here’s what you need to do.
Step 1
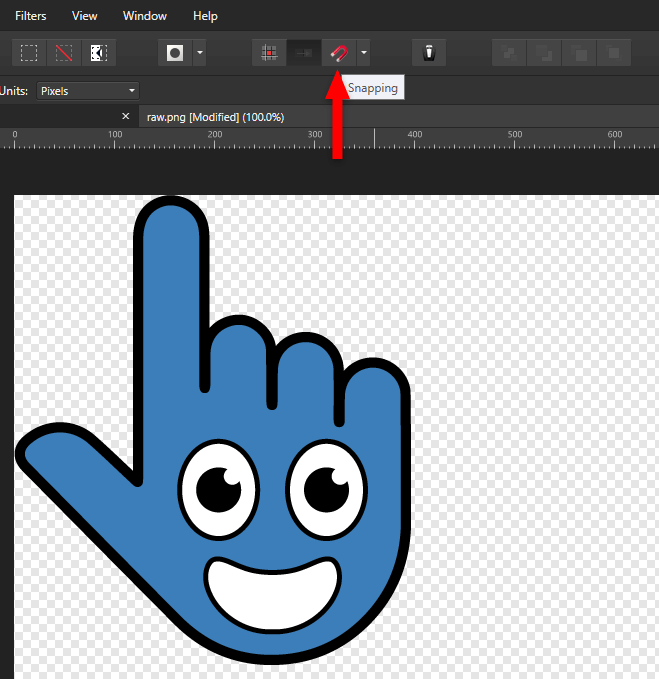
Enable Snapping by clicking on the magnet icon at the top, or by going to View > Snapping Manager.
If you choose the latter option, make sure to check the Enable snapping box first.
Step 2
Click on the down arrow next to the magnet icon to bring up the Snapping tool’s options.
From there, select Page layouts with objects from the Preset drop-down.

Snap to guides should be enabled by default there, but you should check anyway, just in case.
Step 3
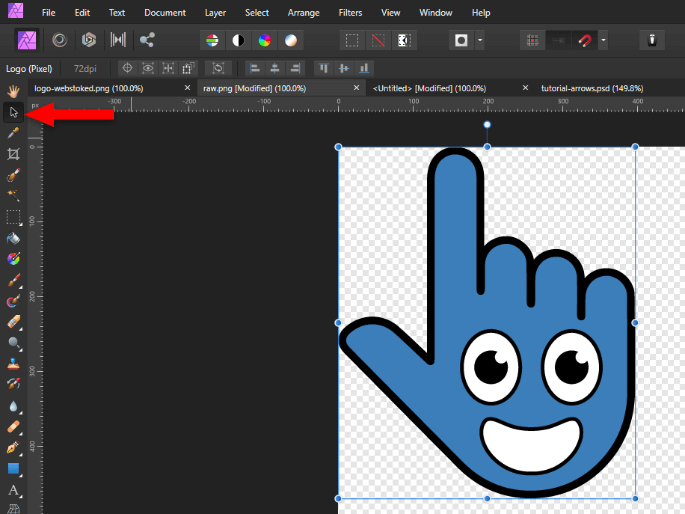
Select the Move Tool by clicking on the arrow icon from the toolbar, or by pressing the default V key.
The layer should now be selected in the document.
Step 4
Click and hold on the ruler, then drag a guide over one of the layer’s blue lines until it snaps and a part of it - equal to the layer’s height - turns green or red. Usually, it turns green for vertical guides.
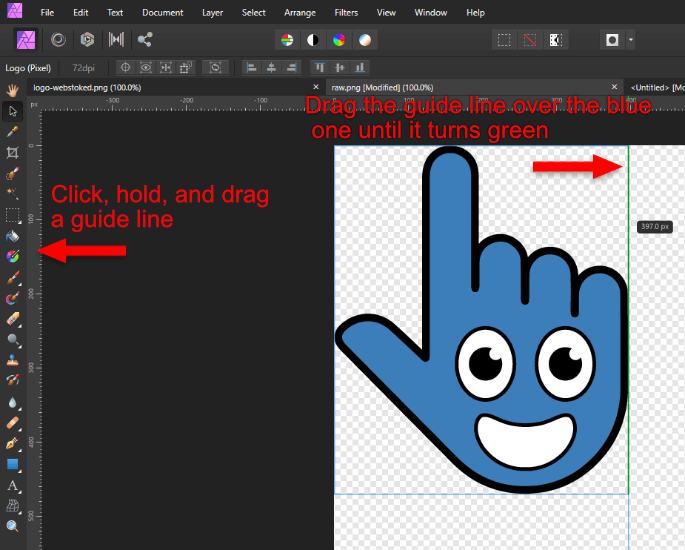
When it changes color, it means that’s right on top of the layer’s blue border, which is the edge of the layer.
If you don’t have the rulers displayed, go to View > Show rulers or press CTRL+R (CMD+R for macOS, I think) on your keyboard.
Step 5
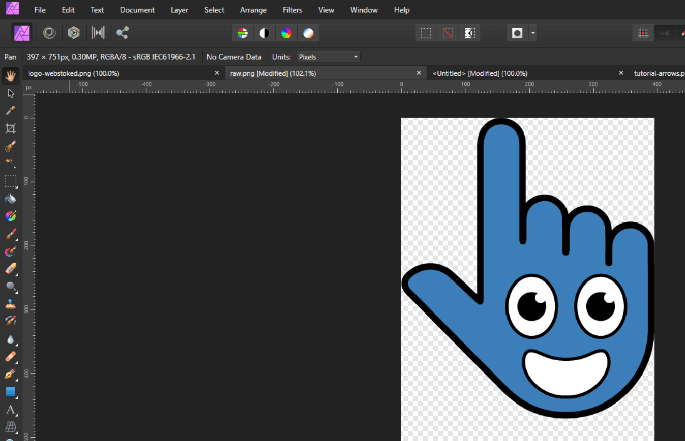
Select the Crop Tool from the toolbar or press the C key.
Drag the crop until the edge of the layer, where the guide is. There, it should snap, turning the line green or red, depending on if it’s horizontal or vertical.

Hit Enter, and it should crop exactly at the edge of the layer.
You can do the same to snap and crop horizontally.
That’s a Wrap
I hope this post has helped you out.
If you're interested in my web design services or free templates, want to collaborate, or just have something to say, feel free to shoot me a message.