Impress your clients with modern, stunning, fully customizable website templates • Ad
Caching is very important, so I have to learn how to work with it in Laravel as part of my practice.
Since I’m always trying to use best practices and tools whenever possible, I’m going to use Redis.
If you want to use Redis in Laravel, you have two options:
Predis is easier to install, but if you do some research, you’ll find out that it’s slower than PhpRedis, especially when there’s big traffic coming on.
And that’s something to expect, since PhpRedis is a client written in C, while Predis is written in PHP.
PhpRedis is a bit trickier to set up, and since once again I barely could find a solution on Google, I decided to write a step-by-step guide for you to make things easier.
Install PhpRedis for Laravel on Ubuntu
Note that I’m using the recommended Homestead environment for Laravel, hence the guide is for Ubuntu. So, make sure you have Homestead installed properly, with SSH access and everything.
Step 1
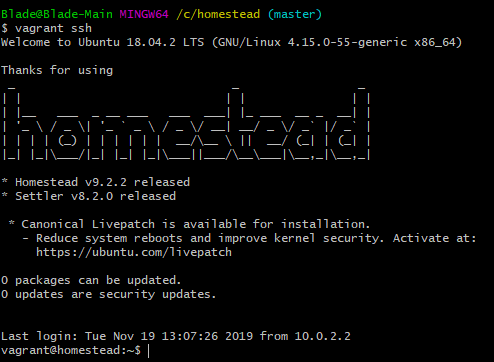
After starting Vagrant from the Homestead directory using vagrant up, type vagrant ssh to access Ubuntu.
Step 2
Type:
wget https://github.com/phpredis/phpredis/archive/master.zip
Note that the link may change if the username or the name of the repository is changed.
So, check it on GitHub first.
Step 3
Type ls to list the directory content.
Something like code master.zip should appear. That’s the file you need to unzip.
Step 4
Type:
unzip master.zip
The unzipping feature should already be installed on Ubuntu.
If it isn’t, it will tell you, and it will also tell you what command to use to install the unzipping feature.
Normally, it’s sudo apt install unzip.
So, if you don’t have the unzipping feature, install it first, then use the previous command I mentioned to unzip the file.
Step 5
Type ls again.
Step 6
Type:
sudo mv phpredis-master/ /etc/
mv stands for “move”. So, this command will move phpredis-master/ in the /etc/ folder.
Nothing new will appear after hitting Enter, so don’t worry if you don’t see any confirmation message or something like that.
Step 7
Type:
cd /etc/phpredis-master/
This will change the directory (cd = change directory) and access the phpredis-master folder.
So, now you’ll execute code there. It will no longer be:
vagrant@homestead:~$
It will be:
vagrant@homestead:/etc/phpredis-master$
Step 8
Type:
phpize
Step 9
Type:
./configure
Step 10
Type:
make && make install
Step 11
For this command, first, you need to know the PHP version that you’ll be using and if it’s installed on Ubuntu.
If you already know this, then go ahead and type this command with the correct PHP version.
sudo vim /etc/php/7.3/fpm/conf.d/redis.ini
This will open the redis.ini file with the Vim editor, where you need to add a line that helps PHP to find Redis.
If you don’t know what PHP versions you have available
Find out what versions of PHP you have on Ubuntu by checking them out in the /etc/php/ folder, like this:
cd /etc/php/
Changing the directory.
ls
Listing its content.
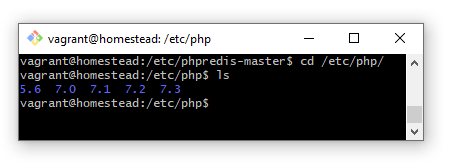
As you can see, I have versions from 5.6 to 7.3.
After that, change the directory back to phpredis-master and then type the code I initially mentioned at the beginning of the step.
This is how you get back to the previous directory:
cd /etc/phpredis-master/
Step 12
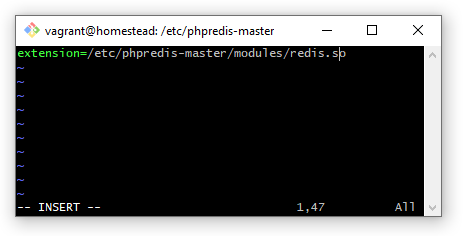
When Vim opens the file, press I on your keyboard to enable Insert. You’ll see it in the bottom-left of the screen.
Then, add this line:
extension=/etc/phpredis-master/modules/redis.so
To save the file and exit:
- Press Esc to stop the editing mode.
- Type
:x, which will appear at the bottom-left, where Insert was.:xwill both save the file and exit the Vim editor. - Press Enter.
Step 13
Make sure you’re still in the right directory after exiting the VIM editor:
vagrant@homestead: /etc/phpredis-master$
Then, type the following code. Make sure that you add the PHP version that you’re using.
sudo service php7.3-fpm restart
This will restart PHP-FPM.
Step 14
Even if you don’t really have to, you should restart Nginx as well.
sudo service nginx restart
You could type this, first, to see if everything’s all right with Nginx:
sudo nginx -t
You should get something like this if everything’s ok:
nginx: the configuration file /etc/nginx/nginx.conf syntax is ok
nginx: configuration file /etc/nginx/nginx.conf test is successful
Step 15
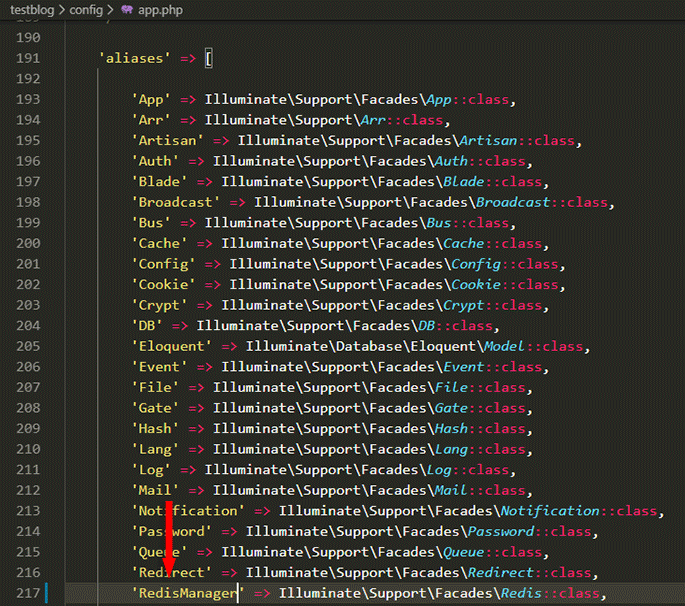
If you plan to use the Redis Facade alias, follow Laravel’s instructions and rename it in config/app.php to something else (e.g. RedisManager).
Testing If PhpRedis Works in Laravel
Step 1
Create a Route like this:
Route::get('/redis', function () {
    $app = RedisManager::connection();
    $app->set('key', 'Testing PhpRedis');
    echo $app->get('key');
});
Now go to yourdomain.test/redis and you should see the value, which is “Testing PhpRedis”.
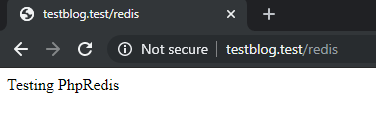
Of course, change yourdomain with your actual testing domain.
Step 2
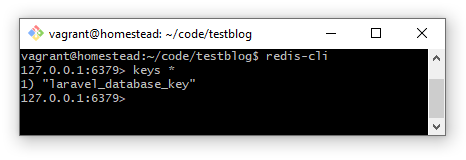
Let’s perform an additional check in Ubuntu.
Type this:
redis-cli
Then:
keys *
And you should see something like this:
1) "laravel_database_key"
The Video That Made All of This Possible
Of course, I didn’t figure out all of this on my own. 😃
Luckily, I found a good video tutorial that probably saved me a couple of days of frustration while trying to put the pieces together from 10 different guides.
Note that, in the video, he uses this library, which is a PhpRedis connector for Laravel.
Laravel doesn’t need that anymore because it uses PhpRedis by default now.
Several years ago, it used Predis by default.
That’s a Wrap
I hope this post has helped you out.
If you're interested in my web design services or free templates, want to collaborate, or just have something to say, feel free to shoot me a message.