Impress your clients with modern, stunning, fully customizable website templates • Ad
I used GeneratePress for several years as my go-to WordPress theme for both websites and blogs. And it has served me well.
It’s a light and optimized theme that delivers great loading time results. Of course, the rest of your WordPress website needs to be optimized as well. The theme is just a part of an optimized WordPress website.
Nonetheless, I decided to give up on it to create my own custom WordPress theme because:
- I’m having financial problems, and I have to cut as many expenses as possible. $29/year for GeneratePress isn’t much, but still…;
- There are fewer updates to worry about. The theme updates, the GP premium plugin updates…;
- I wanted to design my blog the way I wanted. GeneratePress is flexible, but not that flexible. And I definitely didn’t want to use a bloated, feature-rich theme, or a builder such as Elementor. Hell no!
- I’m only adding what I need. This means that the theme won’t have unnecessary bloat.
So, I rolled up my sleeves and started researching and thinking about how I’ll proceed with creating a custom WordPress theme for my blog.
In the process, I also merged Radu.link with WebStoked.com, which was the initial domain for the blog. One less domain to pay and worry about.
Having financial problems really teaches you how to be more resourceful and practical, doesn’t it? 😃
Do You Need to Know WordPress Development to Create a Custom WordPress Theme?
No, but having WordPress development knowledge will definitely speed things up. And you can also make sure that you do it correctly. If something works, it doesn’t mean that it’s done right.
Now, I’m not a WordPress developer, but I do have knowledge of:
- PHP;
- HTML;
- CSS;
- Tailwind CSS;
- Bootstrap.
Without PHP, HTML, and CSS knowledge, it will be impossible to create a proper custom WordPress theme, and probably impossible to even add customizations to a framework or starter theme, as I did.
Yes, I didn’t create it from scratch because it’s too much code, it would have taken way too long, and I wouldn’t have done it properly.
So, as you’ll find out more below, I used a starter theme, which provides only the very basic stuff, and I built on that.
What Did I Use to Create a Custom WordPress Theme for My Blog
As I mentioned above, I didn’t create the theme from scratch. It would have taken way too much time and effort.
I would have needed to take a lengthy WordPress development course, too, to understand everything and do it properly.
So, I relied on a couple of awesome tools that I’ll share with you.
1. Local development environment
I’m using Ubuntu Desktop as my operating system for development.
I like it a lot more than Windows because, being a Linux distribution, it’s a more natural development environment. Most web hosts use Linux for their servers. So, it’s more straightforward.
It’s like having a built-in server within an operating system. You don’t have to install Vagrant, Virtual Box, Git Bash, and whatnot. You don’t need to start the virtual server every time, then SSH in, and all that jazz.
On Windows, I felt like having an old, classic car that I need to hand crank to get it started before getting in.
When I start Ubuntu, I’m already set. I don’t have to start anything extra.
Now, specifically for the WordPress development environment, I wanted to make my life easier by using a tool. I didn’t want to face 100 errors. I still did, eventually. 😃
My first pick was DevKinsta. But during the installation process, it didn’t install Docker Desktop automatically, as it should have, based on the docs that I read.
Instead, when I clicked on the button to install Docker Desktop, it sent me to Docker’s website. There, when I clicked to download Docker Desktop for Linux, it sent me to the Containers section.
I had no idea what to do from there. I checked the documentation, some forum threads, but I eventually gave up.
Next, I tried Local by Flywheel. Flywheel was bought by WP Engine, though.
The installation worked without any issues, but right before clicking the button to create the WordPress environment, I thought:
“If I already have an Apache server set up, along with PHP and other stuff installed for my other projects, why don’t I just install MySQL and not use a 3rd party tool?”
Enough said. I uninstalled Local and started doing things manually, as I usually prefer.
And then, I spent 2 days setting things up.
I spent a day’s work trying to reset the root password for MySQL because it didn’t ask me to add one when I installed it. The guide that I read said that it should have.
I got error after error after error after error after error. It was like the Russian Matryoshka doll. You open one up, there’s another one inside.
I felt like rage-quitting 2 times.
95% of the forums threads and guides I read didn’t help because they were outdated, and the commands were deprecated. I spent hours trying to find updated MySQL commands.
Anyway, in the end, I’m glad I set it manually, without using a tool.
2. Underscores - A WordPress starter theme
Underscores (a.k.a _S) is a WordPress starter theme that only provides very basic functionalities and design, such as:
- Ultra-minimal CSS, so the design will look like crap. But that’s normal because it’s your job to take care of the design;
- Logo, navigation, posts, content, comments, categories, tags. These are some of the basic functionalities that are already implemented so you don’t have to.
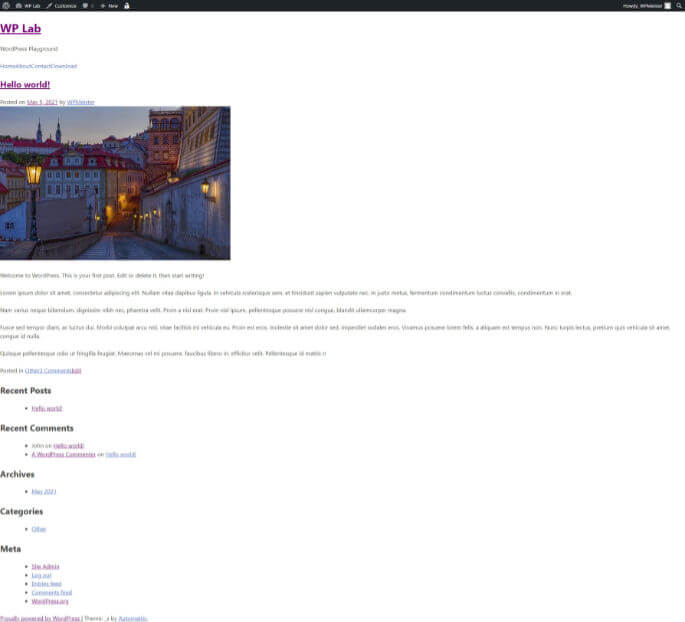
Underscore - WordPress starter theme - fresh installation
A starter theme is not a framework, such as Genesis. A starter theme doesn’t come with custom filters, hooks, and so on.
Underscores does provide some template tags and tweaks, which I think are very helpful for those that are not professional WordPress developers.
A starter theme also doesn’t require a child theme, as frameworks normally do. A starter theme is meant to build directly on top of it.
I chose a WordPress starter theme instead of a framework because:
- There are no custom hooks, filters, and whatnot that I have to learn for that specific framework. This starter theme is based on WordPress code that you can find in the codex. This also prevents compatibility issues unless WordPress receives changes to its own code.
- I’m creating it for myself, therefore I don’t need a child theme to complicate things. I’ll perform any updates that I want directly in the theme;
- It has less code because it only contains the basics and whatever I add. It doesn’t have to load extra code that I might use, but I don’t.
And even though there are several starter themes for WordPress, I chose Underscores because it’s created and maintained by developers from Automattic, the company behind both WordPress.com and WordPress.org.
3. Tailwind CSS
Tailwind CSS is a utility-first CSS framework.
When I want to create a unique design, I use Tailwind CSS instead of Bootstrap. Bootstrap has pre-made styling, while Tailwind doesn’t.
Working with Tailwind is also easier for me because it’s not based on SaSS. It’s straightforward.
For that reason, it also works better with WordPress, where you have to use a lot of CSS classes generated by WordPress.
With Tailwind, you can simply paste them in the main CSS file where you inject the Tailwind styles. Then, you can apply to them the Tailwind utility-first properties or your normal CSS properties. It’s flexible.
Purging the CSS was frustrating, though.
Regardless if you’re using Tailwind CSS, Bootstrap, or another CSS framework, you should use Purge CSS to eliminate the CSS that isn’t used in your code. Otherwise, you’ll end up with huge CSS files.
I didn’t know about Purge CSS until using Tailwind. It’s an amazing tool. Also, Tailwind has it built-in now, so you don’t have to install it separately.
I digress. I mentioned that it was frustrating because there are a lot of classes generated by WordPress that you’ll use, but are not in your theme.
So, you have to add each one to the safelist. Otherwise, they won’t be added to the production CSS file, therefore the design will be broken.
Update: Actually, I discovered that Purge CSS has a package called purgecss-with-wordpress, which contains the classes that need to be safelisted. How cool is that?
Was It Easy Creating the Custom Theme? Did It Take Long?
Keeping in mind that I’m not a WordPress developer nor a professional web developer, and this is a minimal theme, it was relatively easy creating it.
Setting up the server for WordPress gave me some headaches. And CSS a bit, too.
Surprisingly, adding the custom functionalities that I wanted in the theme was the easiest part. I don’t remember getting mad handling that part.
I found the answers quickly in the WordPress codex, Stack Overflow, or in other themes’ code, such as Twenty Twenty-One.
But you need to have at least basic PHP knowledge. Otherwise, you’re pretty much lost.
As for how long it took – About two weeks, working every day for at least 6 hours. I also pay a lot of attention to details, which takes time.
If you’re a web developer by profession, doing stuff like this daily, you’ll figure things out a lot quicker, and won’t lose much time with 100 errors and roadblocks. So, it will go a lot faster.
That’s a Wrap
That’s my custom WordPress theme trek.
It wasn’t anywhere near as easy as using a pre-made theme, but for me, there’s great satisfaction in being able to create my own website/blog the way I want. No other alternative compares to it.
So, the whole hassle was worth it, and I’m happy that I made this decision. I’m a bit proud, too. 😃
If you have the time and knowledge, I recommend that you give it a try.
I hope this post has helped you out.
If you're interested in my web design services or free templates, want to collaborate, or just have something to say, feel free to shoot me a message.