Impress your clients with modern, stunning, fully customizable website templates • Ad
Sometimes, when you open up an image in Photoshop, it appears as a locked Index layer.
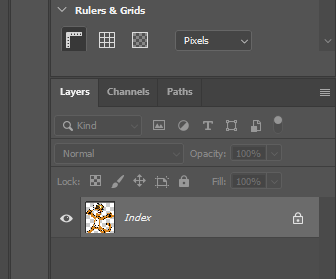
That’s annoying because you can’t do much with it. You can’t unlock it, can’t add styles, and so on.
Fortunately, Photoshop allows you to easily convert the Index layer into a Background or standard Layer.
Let’s see how to do that.
Convert Index Image to Layer or Background in Photoshop
Note that I have an Adobe subscription, so I’m using the latest Photoshop version. Things might be different if you’re using an older version.
All you have to do to convert an Index image to Layer or Background in Photoshop is to select it, then go to Image > Mode and select RGB Color.
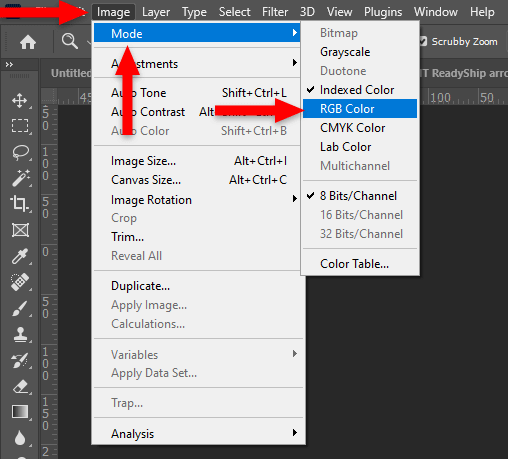
That’s it!
You’ll see that the Index image changed into a Layer or Background, depending on the image extension.
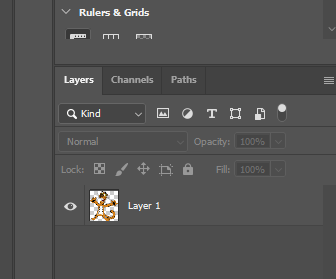
Usually, PNGs are opened as Layer, and JPGs are opened as Background. I don’t know about the other extensions, but the point is that now you are free to play around with your image. 😃
Why Are Some Images Opened as Index in Photoshop?
Index images are saved by someone or something (e.g. an app) using the Indexed Color mode, which produces 8-bit image files with up to 256 colors.
This color mode can reduce the file size, which is the main reason why it’s used.
So, it’s not something that just happens sometimes when opening an image in Photoshop.
For example, I took some screenshots of the Facebook app for my post on how to stop new friend suggestion notifications on Facebook.
The tablet uses Android, and the screenshots were saved using the Indexed Color mode because they appeared as Index in Photoshop.
That’s a Wrap
I hope this post has helped you out.
If you're interested in my web design services or free templates, want to collaborate, or just have something to say, feel free to shoot me a message.